Do you know what tomorrow is? I mean, other than the day that adorable little Phil will tell us when Spring is set to arrive.
Tomorrow is my blog’s birthday! Or is it anniversary?
Let’s go with birthday since that’s the theme of the week. On Monday I said farewell to my 20’s – so today, as a way of celebrating this lovely occasion, my blog will say farewell to something too. Have you figured out the surprise? Check the top of your computer screen:
www.cookingonthebrightside.com
My blog has its’ own domain name now! Very nerdy of me to be excited about, I know, but hey – if you’ve been with me for a year, you expect it by now, right?
Have no fear – any older links will still take you to your favorite recipe. Now it’s just abbreviated, which means it’s easier to remember for when you’re passing it along to your friends. (Wink wink).
In addition to tomorrow being a very special day for my blog – Sunday is a very special day for football lovers (like myself) and for food lovers (um, duh) and for those of us who just enjoy fun celebratory occasions in general.
So if you’re hosting a party for 50 on Sunday or just getting together with a small group and maybe tuning in to the Puppy Bowl – here’s a little recipe roundup for your menu planning!
Pre Game
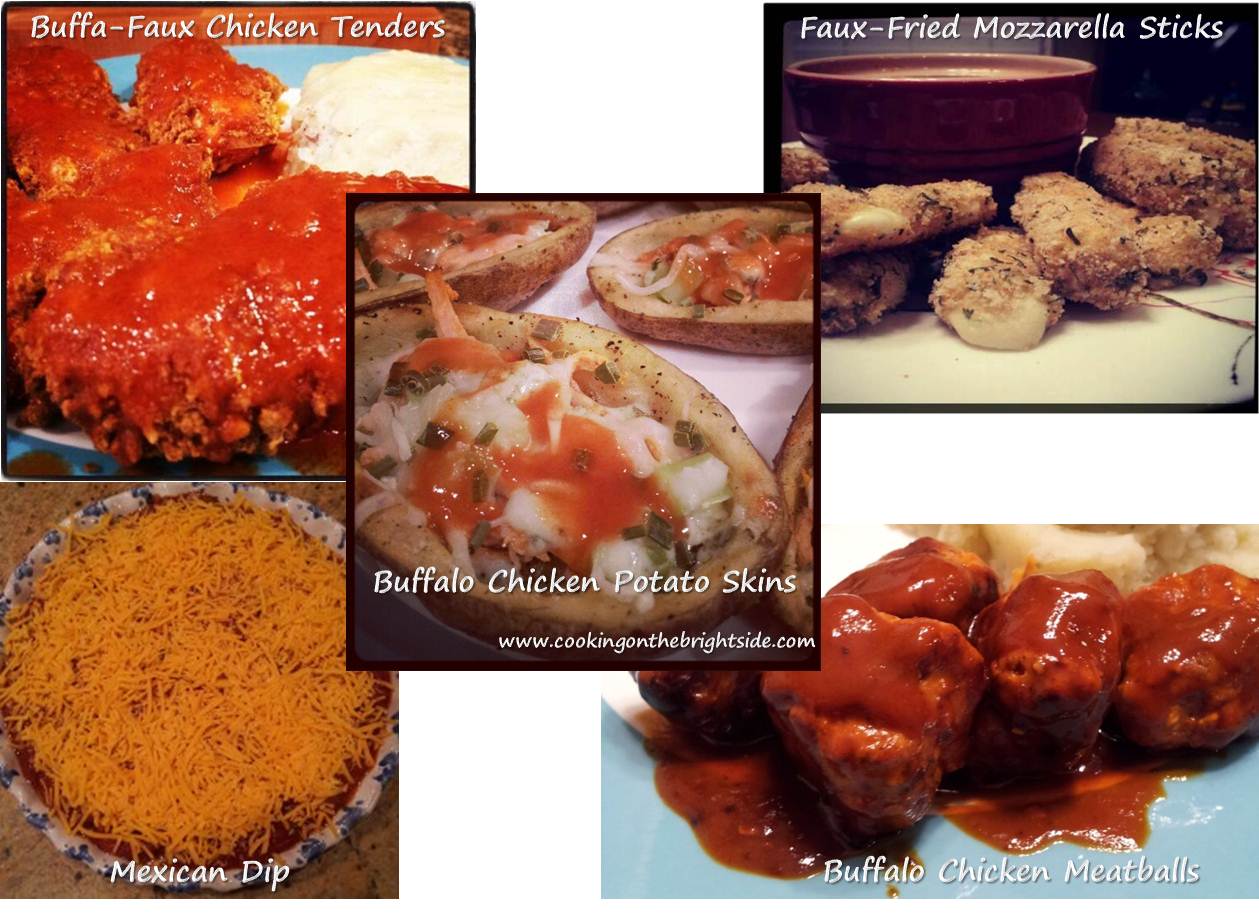
Skinny Faux-Fried Mozzarella Sticks
The Main Event

Of course, you can always jazz your party up with a fun theme. I’m talking about New Orleans. So serve up some festively Cajun recipes and throw back a Louisiana-brewed beer (might I recommend Abita? Light and Amber are delicious!) and you’ll feel like you’re celebrating in the Big Easy!
Lagniappe (translation: a little something extra)

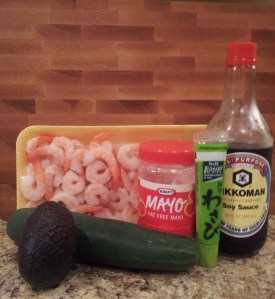
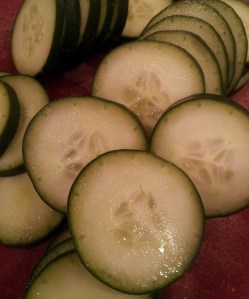
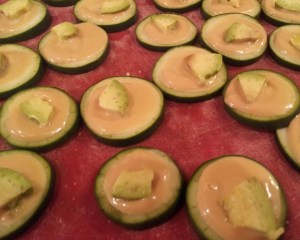
“Fried Shrimp” with Spicy Sauce (or make some po boys cut up into sliders!)
I hope everybody has a wonderful weekend celebrating – as they say in N’awlins…
“Laissez les bons temps rouler!”